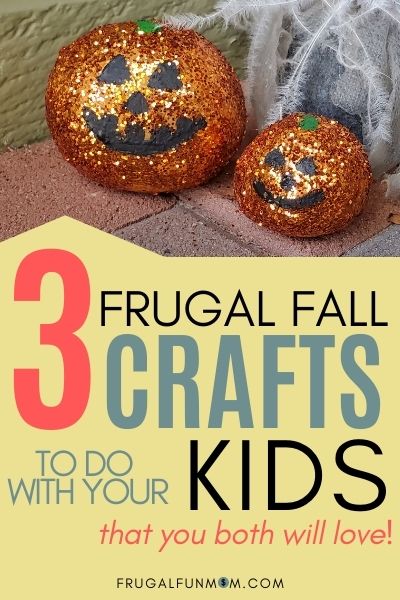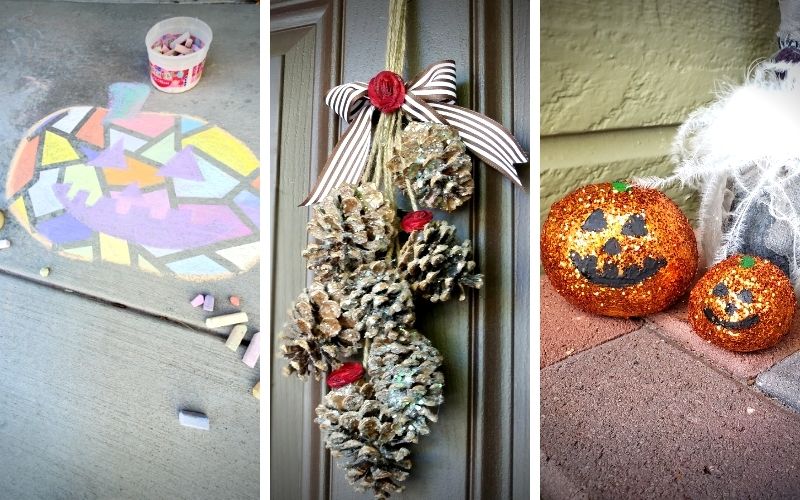
Looking for some frugal fall crafts to do with your kids? I’m talking about fun stuff, those crafts that don’t cost much, but your kids will love doing with you! I’ve got a couple ideas of frugal fall crafts you can do with your kids that won’t break the bank and will help you enjoy the lovely fall weather!
Hang on tight, and I’ll share some of my favorite frugal fall crafts that I like to do with my kids. But before I do that, I need to tell you about my Get It Free Checklist!
Want to remember this post? Pin this post, Frugal Fall Crafts To Do With Your Kids, to your favorite Pinterest board right now!
Let’s Craft!
Now, back to my frugal crafting ideas. These 3 frugal fall crafts are a great way to spend quality time with your kids, using supplies that hopefully you already have at home. Plus, these frugal fall crafts will create lasting memories with your kids!
WISH PLANNING A PARTY WAS A PIECE OF CAKE?
Fall Sidewalk Chalk Mosaics
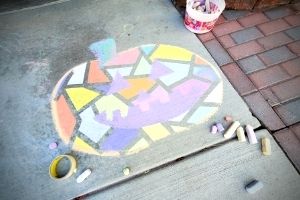
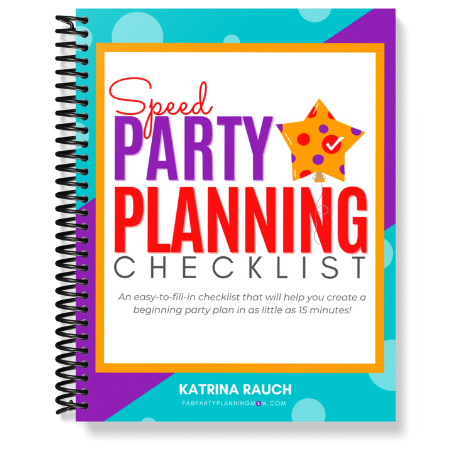
Before the weather gets too cold to be outside, make sure to spend an afternoon creating fall sidewalk chalk mosaics! All you need is sidewalk chalk and some masking tape.
If you don’t have any sidewalk chalk, you can snag my free Homemade Chalk Recipe now. Sidewalk chalk mosaics are super easy and fun to do and kids of any age!
We have made them so many times this summer, that now we have a few tips to make your chalk mosaics even better.
Supplies Needed for Fall Chalk Mosaics:
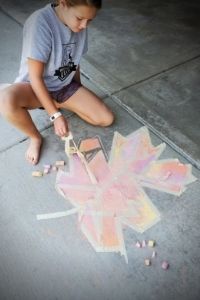
If you have never seen or made a chalk mosaic, read this post first, with step-by-step photo instructions: How To Make A Sidewalk Chalk Mosaic
Chalk Mosaic Tips
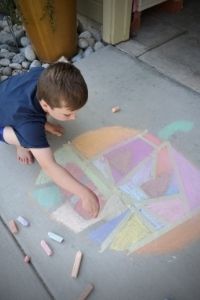
If you want to make a mosaic shape that doesn’t have straight lines, I’d suggest making an outline of the shape using chalk, and then adding tape lines inside the shape.
For example, my son wanted to make a spider and a pumpkin shaped chalk mosaic. Instead of trying to make a pumpkin shaped outline with masking tape, he just drew the outline with chalk.
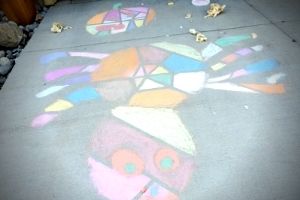
Then he added masking tape lines inside the pumpkin shape. He colored them in and then removed the tape. It came out awesome!
My daughter wanted to make a leaf shaped mosaic and she tried the same method as above.
Drawing her own outline and then filling in with masking tape lines inside the shape. Again, it came out awesome.
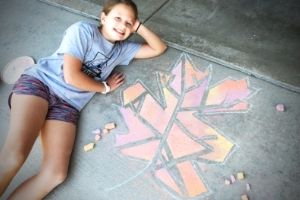
After they both made really neat fall mosaics, I decided to try a jack-o-lantern myself, using the same technique and it came out great!
Make sure you try fall sidewalk chalk mosaics with your kids – this is one frugal fall craft that I’m sure they will love to do with you!
WISH PLANNING A PARTY WAS A PIECE OF CAKE?

Fall Painted Rocks
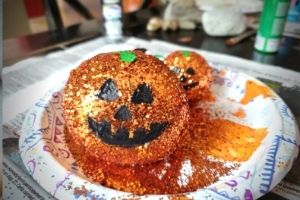
We are on fall break from school this week, so we had plenty of fun time on our hands.
The weather around here has been lovely, but today the temperature dropped 25 degrees and got really windy. The temperature drop made us want to stay inside instead of doing frugal fall crafts outside.
We decided to paint rocks! Have you ever done this? For the most part, it doesn’t cost much, because you just find a rock outside and paint it! Today I combined my love of all things glitter, with my love for frugal fall crafts – I made a glittery pumpkin rock!
Supplies Needed For Painted Rocks:
- Rocks
- Acrylic Paints (assorted colors)
- Paintbrushes
- Glitter
- Mod Podge – optional
How To Paint Rocks:

Super simple idea. Just find a few rocks outside, and set up your table inside, lined with newspaper. All you need is some acrylic paint, paint brushes and you are set. I’m hoping you have paints and brushes at home already! If you don’t, acrylic paint is pretty cheap. Just grab a few colors and you are set.
Glitter Makes Everything Better
To make painted pumpkins you only need orange, black, and green if you want a stem. Plus, orange glitter. That’s it! Then go find a round rock and get to work! If you are not a big fan of glitter, you don’t have to use any of it! Just paint the rocks with paint instead and don’t worry about adding any glitter. I love any excuse to use glitter, so I’m happy to have a craft to use it on!
Steps To Paint Rocks
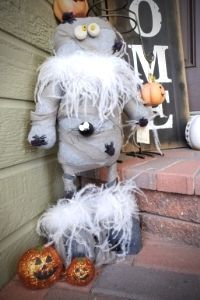
I started out by painting my entire rock orange and while the paint was still wet, I sprinkled on the orange glitter. It sticks great to wet paint – without needing any glue. While the paint was still drying, I used the non-brush side of the paint brush to scratch off some of the glitter in the shape of a triangles for the eyes and nose.
Then I scratched off the shape of a mouth. After the orange paint was dry, I painted on the eyes, nose and mouth with black paint. Then I painted on a green stem on the top!
Super cute glittery rock pumpkins that I put by front door and love! If you have any trouble with the glitter sticking, paint your rock orange first and let it dry. Then add Mod Podge and sprinkle on the glittler while it’s still wet. The Mod Podge will adhere the glitter very well!
Pinecone Door Hangers
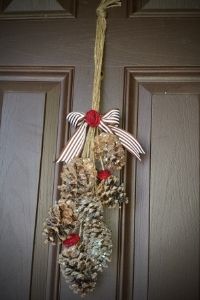
Now it’s time to make something you can hang on your doors! Pinecone door hangers are another one of our favorite frugal fall crafts!
These are so cute and easy to do, and definitely qualify as a frugal fall craft that you can do with your kids. Before you can make this craft, you’ll have to take your kids on a nature walk to hunt down some pine cones.
Read how to make Pine Cone Door Hangers.
WISH PLANNING A PARTY WAS A PIECE OF CAKE?

Get Ready & Go Craft!
There you have it! Three very frugal fall crafts you can do with your kids today! These are great to do on a weekend, during fall break, or in the afternoons when online schooling is done for the day.
Promise me if you give these a try that you’ll come back and tell me how they turned out? I’d love to see photos too – just tag me @FrugalFunMom on Instagram! Or you can always upload a photo to Facebook and tag me at @FrugalFunMom.
Can’t wait to see what you come up with!
Want to remember this post? Pin this post, Frugal Fall Crafts To Do With Your Kids, to your favorite Pinterest board right now!

